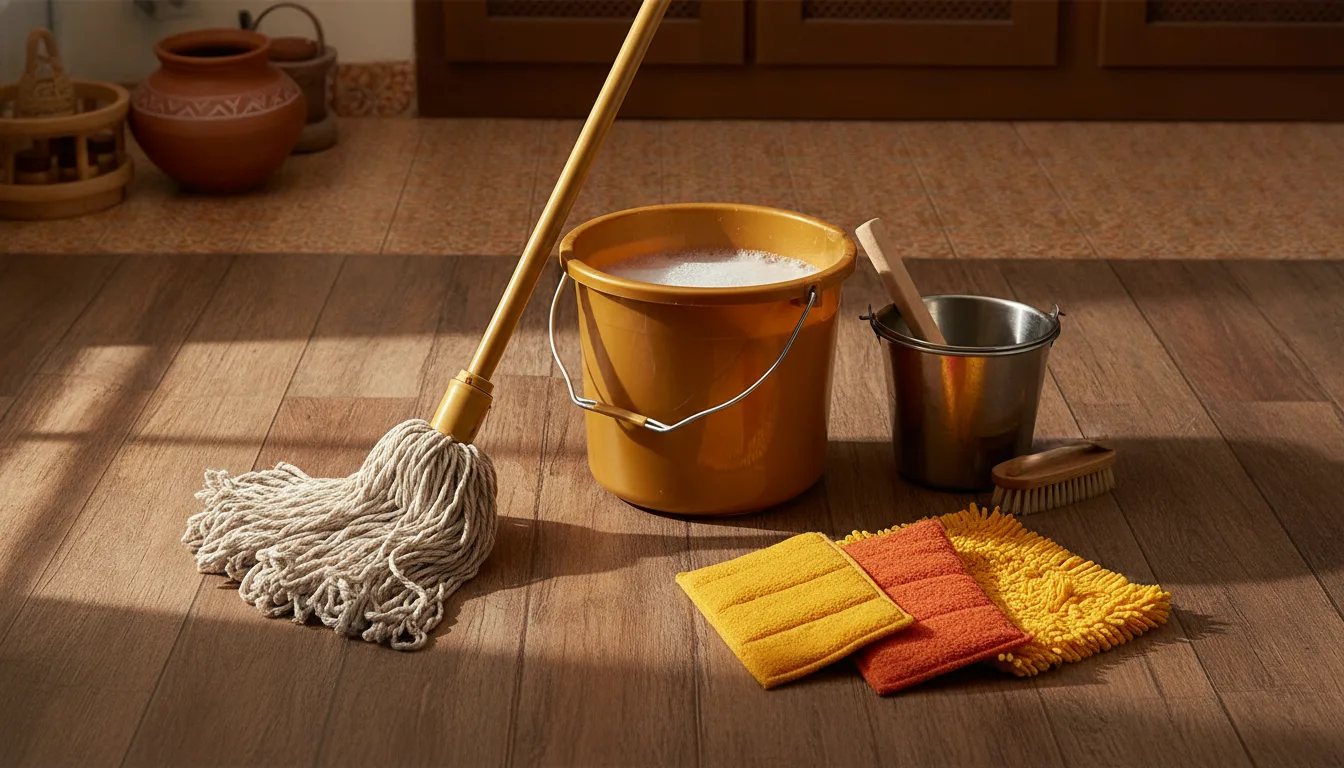

The Spots That Make a Clean Home Look Dirty
You've mopped the floor, wiped the counters, and scrubbed the sink. The house looks decent. Then a guest bends down to pick something up and notices the black ring along the floor edge, or the grey grout between your bathroom tiles, or the gunk wedged where the wall meets the cabinet. All your work, undermined by a few square centimetres of neglect.
These aren't places you forget to clean out of laziness. They're places standard cleaning tools physically cannot reach. A regular mop slides over them. A cloth folds away from them. Even a stiff brush misses the angle. The result is that most Indian homes have perfectly clean surfaces surrounding deeply grimy gaps - and the gaps quietly win over time.
This guide is about fixing that. Not with a marathon deep clean, but with the right approach and the right tools, used regularly.
Why These Spots Get So Bad in Indian Homes
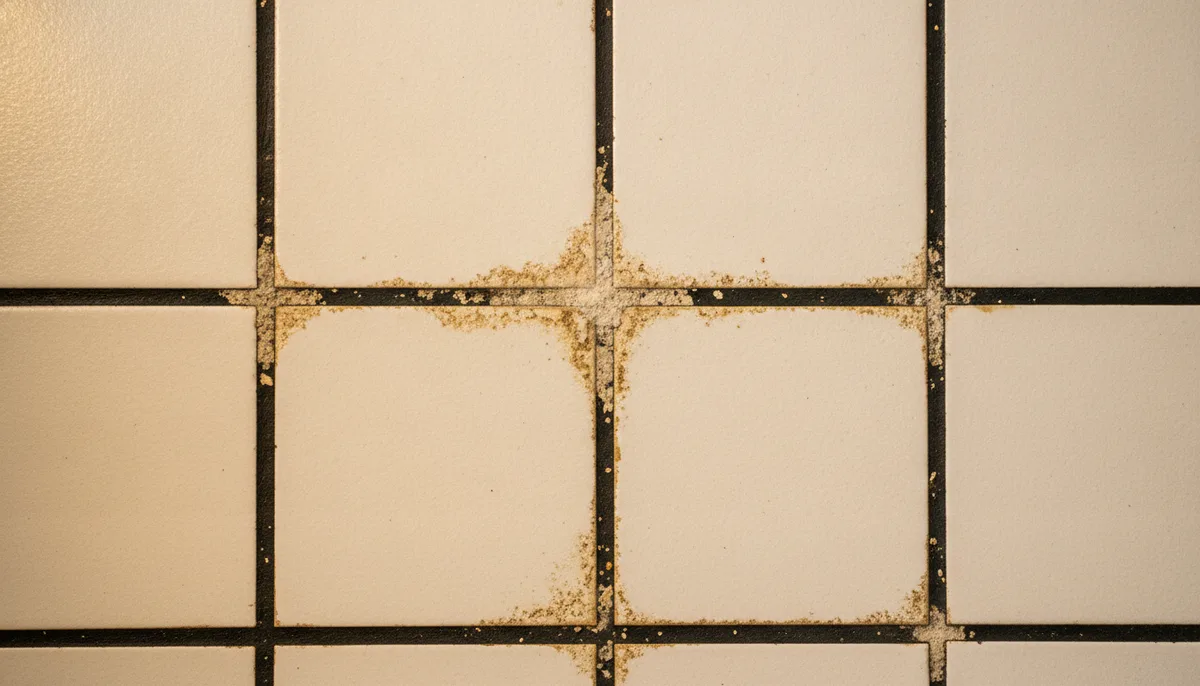
Indian households deal with a specific set of conditions that make crevice cleaning harder than it sounds.
Heavy cooking produces oil vapour that settles into every gap in the kitchen - between tiles, around the base of the stove, along the edge where countertop meets wall. That oil attracts dust, and the combination forms a sticky residue that doesn't respond to a quick wipe.
Hard water leaves mineral deposits in bathroom grout and around tap fittings. Over a few weeks, white or grey crust builds up. Leave it longer and it bonds to the surface and becomes genuinely difficult to remove without abrasives.
Monsoon humidity encourages mould in corners, especially in bathrooms and kitchens with poor ventilation. What looks like a dark stain is often a thin layer of mould that's taken hold in grout or silicone seals.
Dust from Indian streets, especially in cities like Delhi, Mumbai, or Bengaluru, is finer and heavier than most people account for. It settles into corners, floor edges, and narrow gaps between furniture and walls. Once it mixes with humidity or oil, it's no longer dry dust - it's packed-in grime.
The Tools That Actually Reach These Spots
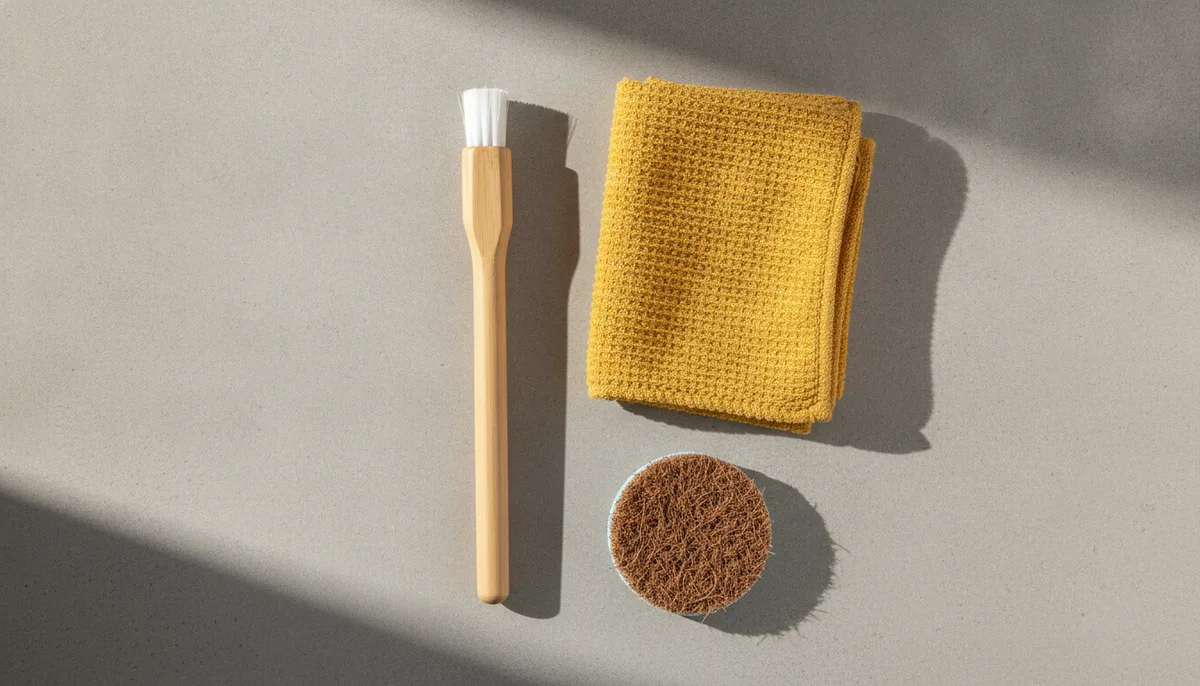
Before technique, let's talk tools. Most cleaning failures in tight spaces come down to using the wrong tool and expecting it to compensate through effort.
A Narrow-Bristle Crevice Brush
This is the one item missing from most Indian cleaning kits. A good crevice brush has a long, thin head that can get into floor edges, grout lines, the gap between tiles and fittings, and the narrow channel between appliances. The Crevice Brush from Swivo is designed for exactly this - stiff enough to dislodge packed grime but narrow enough to reach where larger brushes can't. Use it dry to loosen surface dust first, then with a small amount of water or cleaning solution for the second pass.
Microfibre Cloths That Actually Grip Grime
Standard cotton cloths push grime around. A good microfibre cloth - especially one with a textured surface - picks it up. The Space Cloth works well for wiping down corners and crevices after you've loosened grime with a brush. Fold it into a thin strip to get into tighter angles, or wrap it around a finger to clean grout lines on vertical surfaces.
A Non-Scratching Scrubber for Grout
Grout is porous and holds stains stubbornly, but it can also scratch and crumble if you use something too abrasive. You want a scrubber that has enough texture to work the grime out without damaging the grout surface. The Multipurpose Wire Dishwashing Rags work well here - they have enough grip to tackle grout and tile edges without scratching glazed surfaces.
How to Clean Floor Edges and Skirting
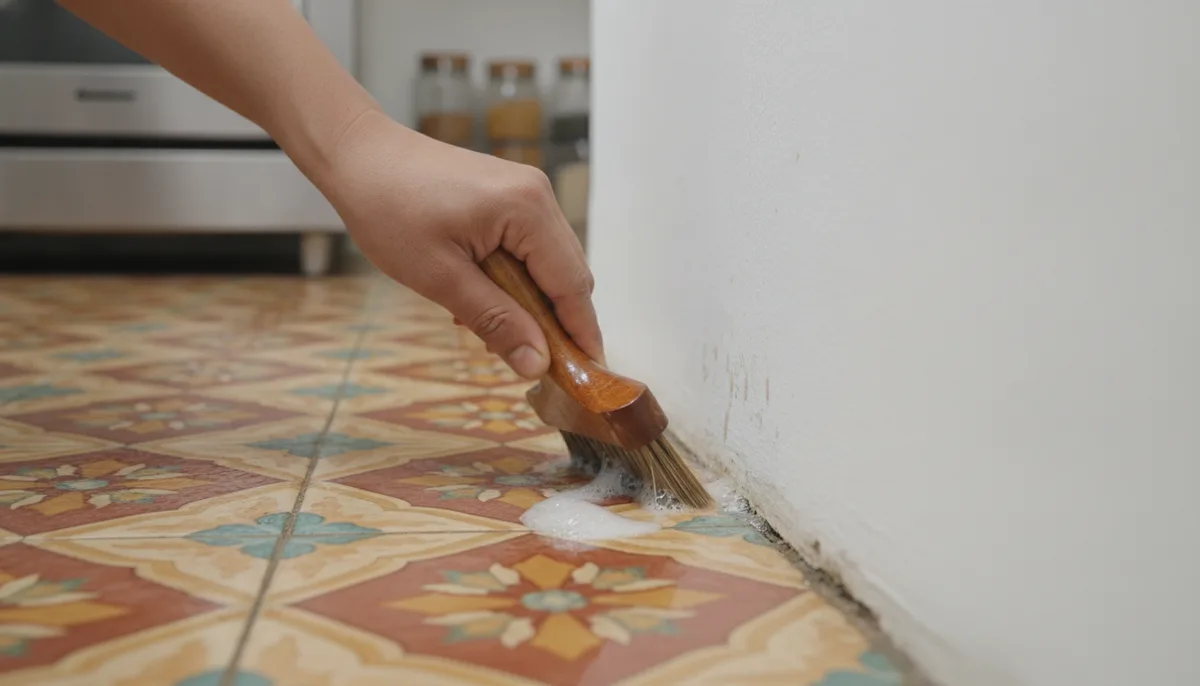
Floor edges - the junction where floor tile meets wall or skirting board - collect dust, hair, and cooking grease faster than almost any other surface. A mop skips right over them because the mop head is too wide and too soft to get into the angle.
Here's the right approach:
- Start dry. Use your crevice brush along the entire floor edge to loosen packed dust and debris. Work in one direction so you're pushing debris into the open floor rather than further into the gap.
- Vacuum or sweep what you've loosened before it settles again.
- Now go back with a damp cloth - folded into a narrow strip - and wipe along the edge. For kitchens, add a small drop of dish soap to cut through grease.
- In bathrooms, check the silicone seal where the floor meets the wall. If it's darkening, that's the start of mould. Scrub it with the crevice brush dipped in a mild cleaning solution. If the mould is deep-set, the seal may need replacing eventually, but regular cleaning prevents it from getting to that point.
This takes about five minutes per room when done weekly. Skip it for a month and it takes twenty.
Tackling Grout Lines the Right Way
Grout cleaning has a reputation for being the most tedious job in the house. It doesn't have to be if you approach it in sections rather than trying to do every grout line at once.
The basic process is straightforward. Dampen the grout line with water first - dry grout absorbs cleaning product too fast and the product doesn't have time to work. Apply your cleaning solution and let it sit for two to three minutes. Then scrub along the grout line with your crevice brush or a folded scrubber cloth. Wipe clean and move to the next section.
For heavy mineral build-up from hard water, a diluted acidic solution (even plain white vinegar diluted 1:1 with water) applied for a few minutes will soften the deposits before you scrub. Don't use this on marble or natural stone tiles - it will etch the surface.
One practical tip: clean grout in sections of about one square metre at a time. It's less overwhelming, you can see your progress, and the cleaning product doesn't dry out before you get to it.
Corners, Gaps Behind Appliances, and Forgotten Spaces
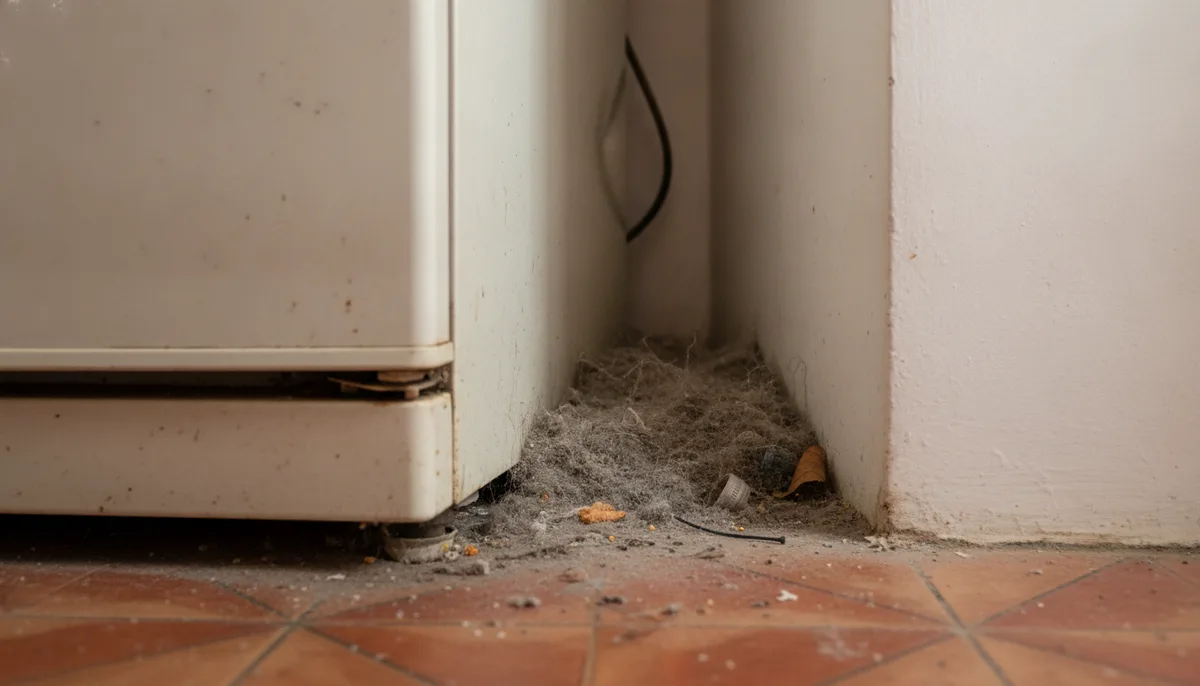
The gap between your fridge and the wall. The space under the washing machine. Behind the toilet. These are the spots that get cleaned approximately never, and it shows when you do eventually move something.
For corners where walls meet floors or ceilings, a crevice brush with a bend or angled head makes the biggest difference. Run it along the joint, then follow with a damp cloth.
For gaps behind appliances, use the crevice brush with a long handle to sweep out whatever has accumulated. If the gap is too narrow even for that, a ruler wrapped in a microfibre cloth can reach further than you'd expect.
The Activated Charcoal Ceiling Fan Filters are worth mentioning here because ceiling fan blades and the gap between the fan housing and ceiling are often completely overlooked. Dust accumulates there in thick layers, then gets circulated every time the fan runs. A filter reduces how much settles on the blade edges to begin with, which makes maintenance quicker.
Making Crevice Cleaning Part of Your Regular Routine
The reason these spots get so bad is that they're not part of the default cleaning routine. Most people wipe surfaces, mop floors, and move on. Crevices require a deliberate decision to include them.
A practical approach is to add one section of crevice cleaning per week rather than trying to do everything at once. Monday might be bathroom grout, the following week floor edges in the kitchen, the week after that the space around the stove. Over a month you cover the whole house, and nothing builds up to the point where it needs significant effort to fix.
Keep your crevice brush and a folded cloth near the areas where they're most needed - one in the bathroom, one in the kitchen. The tools being accessible is half the battle.
The Honest Result
No cleaning method makes crevices, corners, and grout permanently clean. They will always collect grime because of how kitchens and bathrooms are used. But with the right tools and a realistic routine, you stop the cycle where neglected spots become problems that require real effort to fix.
A good crevice brush, a reliable microfibre cloth, and fifteen minutes per week across the right spots will keep your home looking genuinely clean - not just surface clean. That's the difference between a home that looks like it's maintained and one that always has something embarrassing hiding in a corner.