Why Most Mops Disappoint Within a Month
If you have bought a mop from a local hardware store or a mall pop-up, you already know the pattern. It works fine for two weeks, then the pad starts shredding, the wringer jams, or the bucket cracks from repeated pressure. You end up mopping with half a tool and wondering why your floors still look dull.
The problem is not that you are doing it wrong. It is that most budget mop sets are built for occasional use in mild conditions - not for Indian homes where you might mop every single day, deal with hard water, and tackle floors covered in cooking oil and fine dust simultaneously.
Understanding what actually matters in a mop setup will save you from repeating the same purchase mistake every few months.
The Three Parts That Determine Whether a Mop Works
Before picking any mop set, break it into three components and think about each one separately.
1. The Bucket and Wringer Mechanism
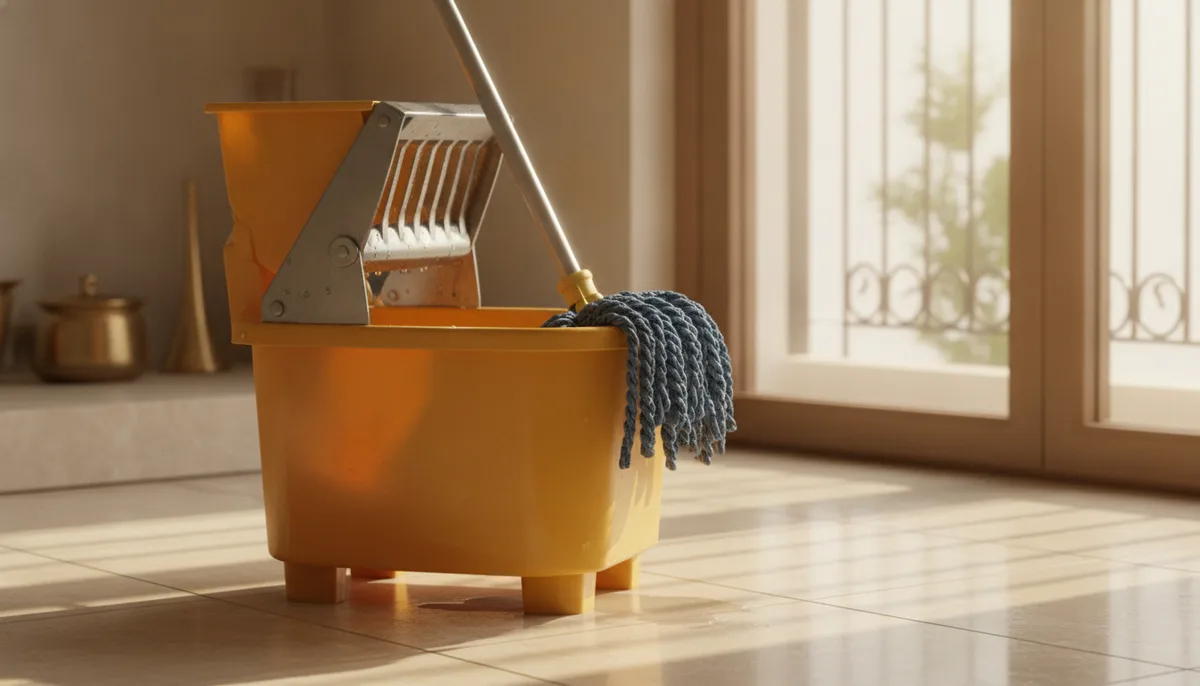
This is the part most people ignore until it fails. A loose or poorly designed wringer either leaves pads too wet (so floors take forever to dry and attract dust faster) or too dry (so you are scrubbing without any cleaning action).
Look for a wringer that applies even pressure across the full width of the pad. Side-press wringers are generally more durable than round spin mechanisms for heavy-duty daily use. The bucket itself should be wide enough to accommodate the mop head without forcing it at an angle - that angle is what breaks wringers prematurely.
The Mop and Bucket Set with Wringer from Swivo is designed with this in mind - the wringer and bucket dimensions are matched so the pad sits flush and wrings out evenly every time. If you have ever fought with a mop that keeps tilting in the bucket, you will notice the difference immediately.
2. The Mop Head and Pad Material
In India, your floors probably face a combination of fine dust (especially in cities like Delhi, Pune, or Bangalore during summer), sticky oil residue near the kitchen, and hard water mineral deposits that leave a filmy residue if you mop with tap water and then let it air dry.
Microfibre pads handle fine dust well because the fibres trap particles rather than pushing them around. For kitchen spills or oily floors, you want a pad that absorbs without smearing. The pad should also be machine washable - anything that requires hand-wringing and sun-drying only is going to become a hygiene issue within weeks, especially in humid climates during monsoon months.
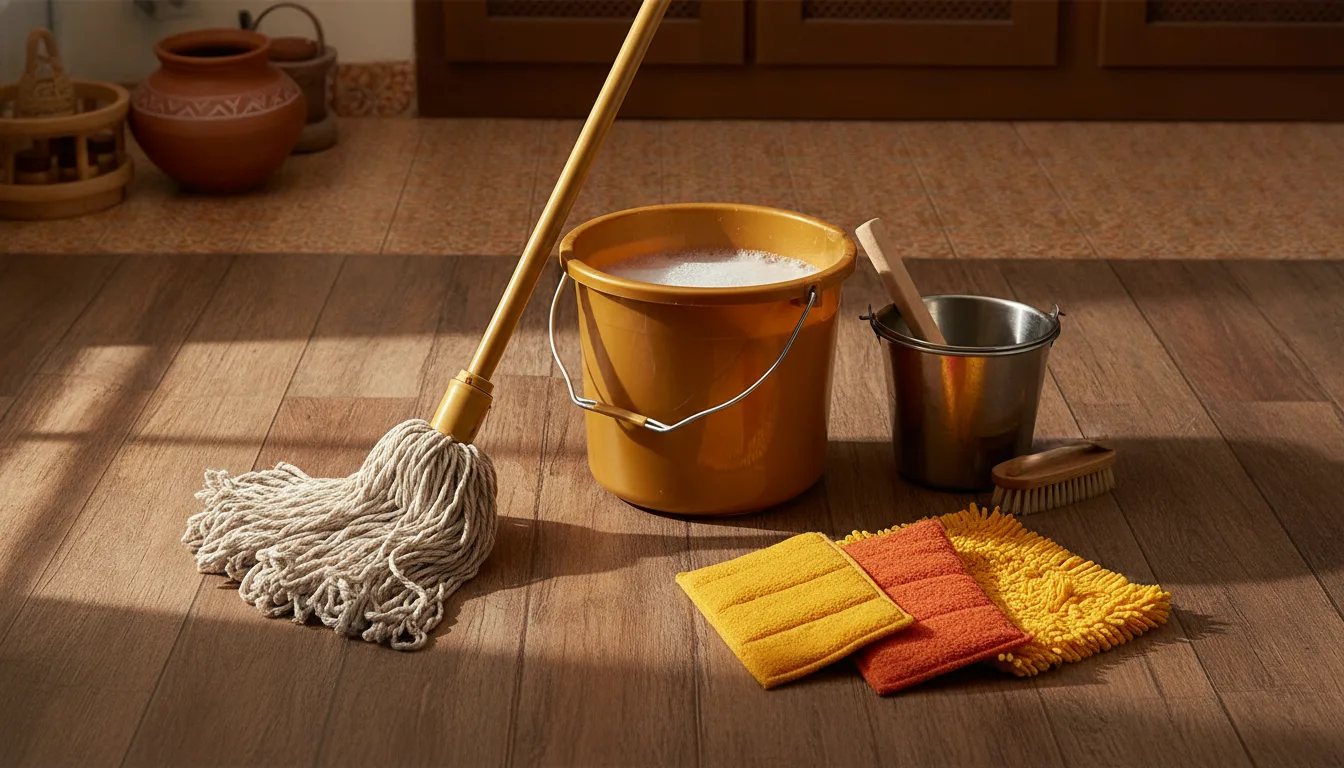
The Mop and Bucket Set Pads (Pack of 5) are made to handle regular machine washing without the fibres breaking down or the pad losing its shape. Having a pack of five also means you can rotate pads and always have a clean, dry one ready - which matters if you mop daily.
3. The Handle Length and Flexibility
An underrated factor. A handle that is too short means you are bending your back with every stroke - which is exhausting if you are mopping a 2BHK or larger. Handles should reach at least to shoulder height when the mop is flat on the floor.
Pivoting mop heads make a real difference for getting under furniture, behind toilet bases, and into bathroom corners. If the head is fixed, you end up either skipping those spots or crouching to reach them, which defeats the purpose.
Matching the Mop to Your Floor Type
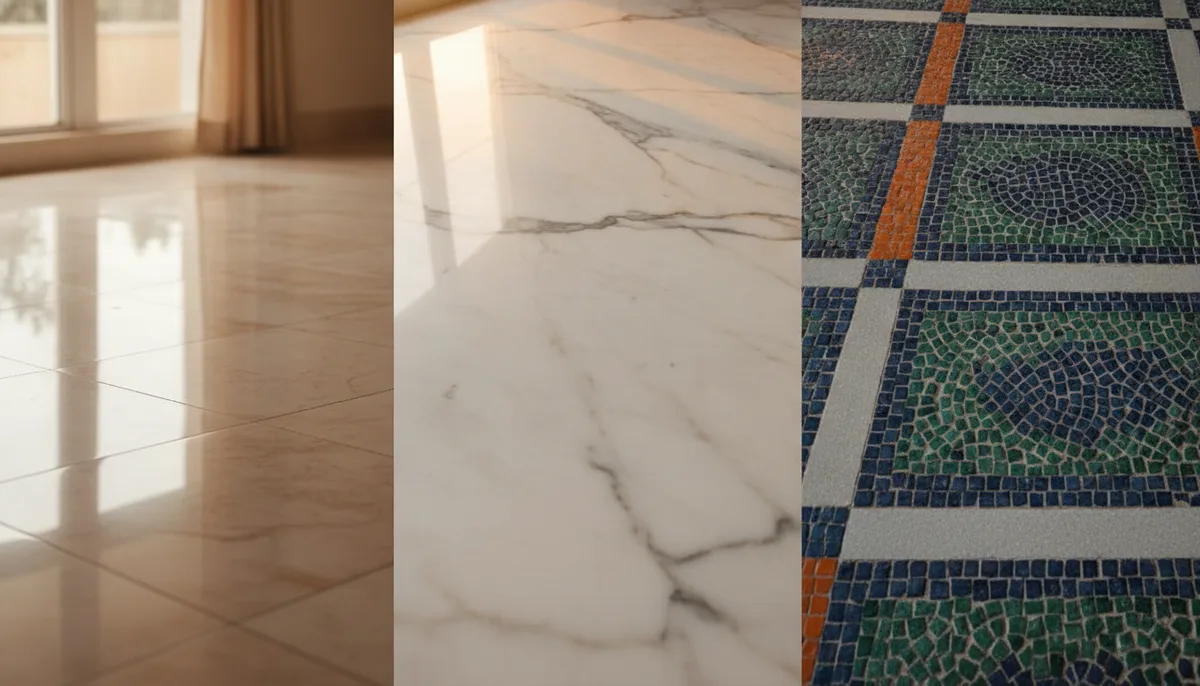
Different flooring common in Indian homes actually calls for slightly different mop approaches.
Vitrified and Ceramic Tiles
These are the most forgiving surfaces. They handle both wet and damp mopping well. The main issue is streaking - which usually happens when the pad is too wet or when you are using too much detergent. A well-wrung microfibre pad with plain water or a very diluted cleaner will leave these tiles streak-free.
Marble and Granite
These require a gentler approach. Avoid acidic cleaners entirely - they etch the surface over time. Use a lightly damp pad, not a soaking wet one. The goal is to lift dust and mild grime without saturating the stone. Mop in the direction of the grain or pattern where possible.
Mosaic and Older Flooring
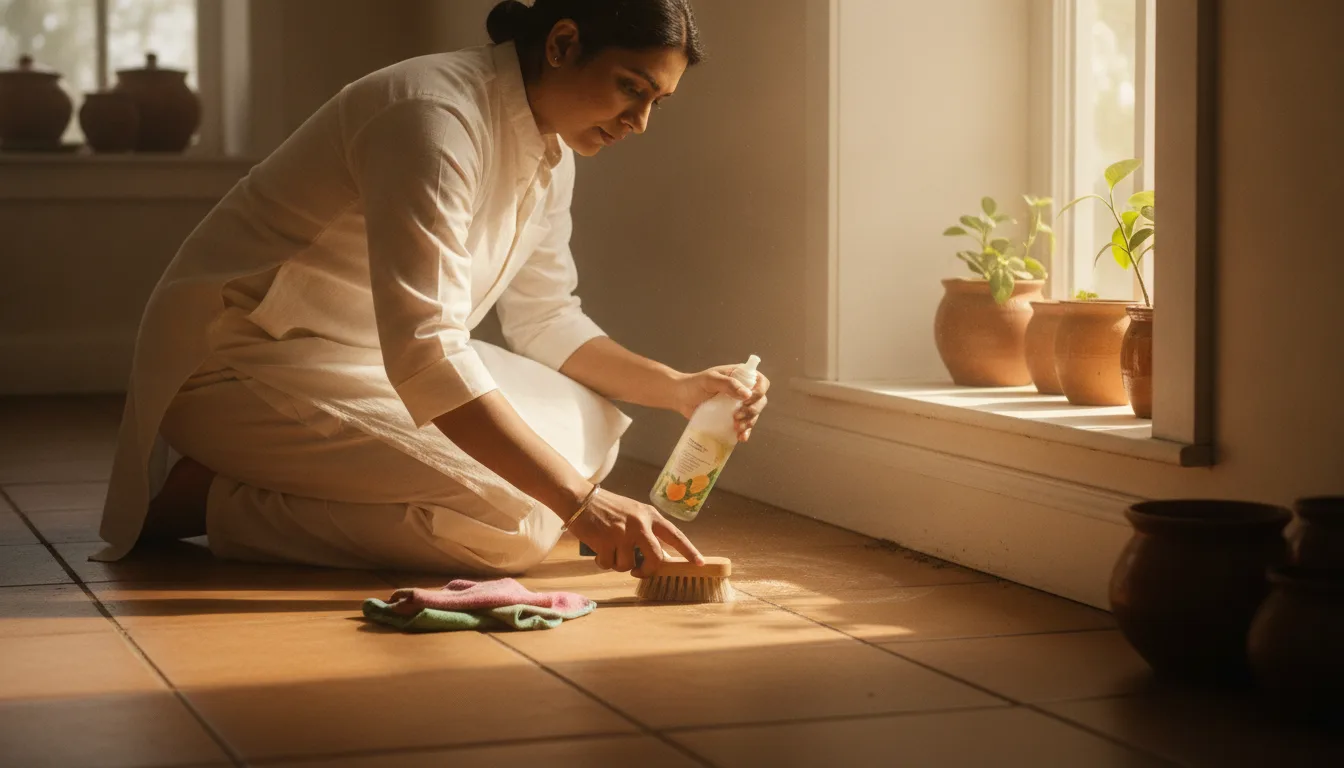
Common in older apartments and independent homes. The grout lines trap dirt and cleaning residue. A mop alone is not enough here - you will need a tool that gets into those crevices. Pairing your mop routine with a Crevice Brush for grout lines makes a visible difference. Mop first to clear the surface, then use the brush on stubborn lines, then do a final light mop to pick up what you loosened.
Kitchen Floors
These need the most attention in Indian homes. Cooking splatter, oil mist, and flour dust create a residue that a plain water mop will not cut through. A small amount of dish soap or a plant-based floor cleaner in the bucket helps break down grease without leaving a slippery film. Make sure to wring the pad tightly after each stroke - spreading greasy water around just redistributes the mess.
How Often Should You Actually Replace Mop Pads
Most people keep pads for far too long. A pad that has lost its fibre density is not just less effective - it is actively spreading bacteria around your floor. Signs it is time for a new pad: fibres are visibly matted or fraying, the pad smells musty even after washing, or it leaves lint streaks on dark tile.
With regular machine washing and proper drying, a good quality pad should last 60-80 wash cycles before performance drops noticeably. If you mop daily and wash the pad every two or three days, that is roughly two to three months per pad. Having a pack of five means you have a comfortable rotation without interruptions.
Common Mopping Mistakes That Leave Floors Looking Worse
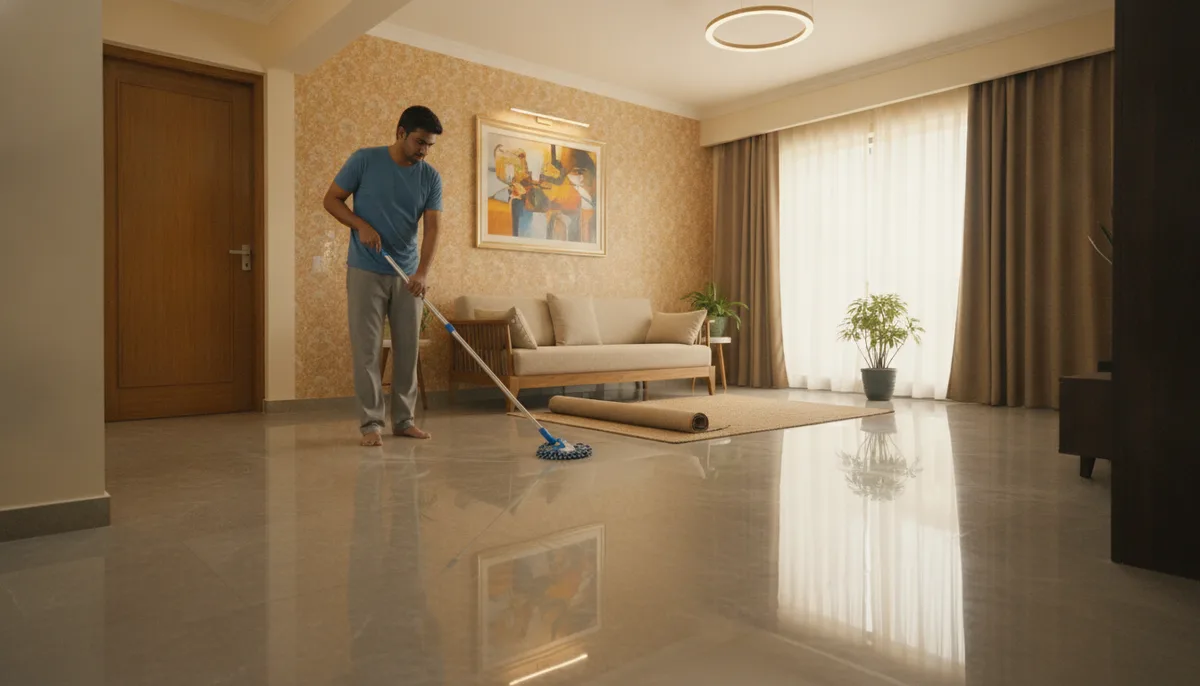
- Using too much water: Oversaturating the pad leaves water sitting on the floor, which dries to a cloudy film - especially with hard water. Wring properly until the pad is damp, not dripping.
- Mopping into corners: Always mop from the far end of the room toward the door. Mopping yourself into a corner means walking over the wet, just-cleaned floor.
- Skipping the dry sweep first: If you mop over loose dust and debris, you are just pushing it around with water. Sweep or vacuum first, then mop.
- Leaving the pad on the bucket when done: The damp pad sitting on the closed bucket breeds bacteria. Remove the pad, rinse it, and hang it to air dry separately.
- Using the same bucket water for the whole house: Change the water when it turns noticeably grey or cloudy. Mopping with dirty water leaves dirt behind.
A Simple Routine That Works
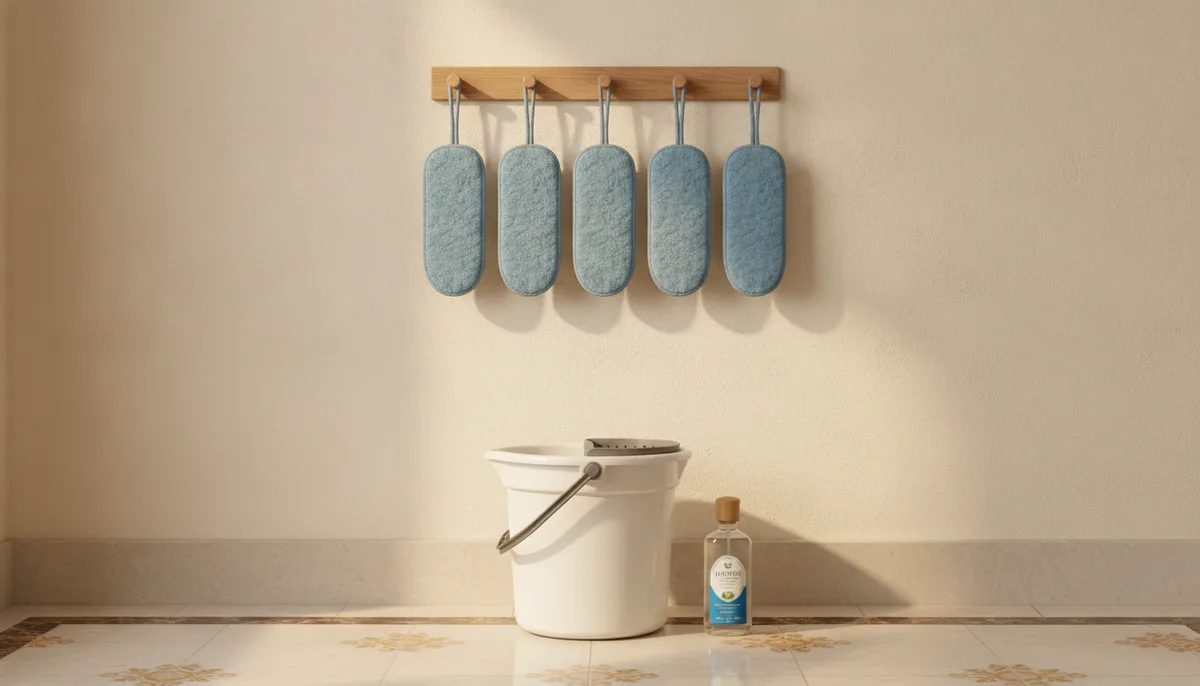
For a typical Indian home, here is a practical sequence that takes less effort than most people expect:
- Do a quick dry sweep or run a dry mop pad over the floor to pick up loose dust and hair.
- Fill the bucket with water and a small amount of cleaner. Wring the pad until just damp.
- Start from the far end of the room, work in overlapping S-shaped strokes toward the exit.
- Re-wring the pad every two or three passes. Change the bucket water if it looks cloudy.
- For kitchen floors, do a second pass with a fresh, lightly damp pad to remove any soapy residue.
- After mopping, rinse the pad thoroughly, hang it up, and leave the bucket upside down to dry.
This takes roughly 15-20 minutes for a 2BHK once you have a decent setup and the habit is in place. The tool makes a bigger difference than the routine - a well-designed mop with a proper wringer cuts that time down significantly because you are not fighting the equipment.
Final Thoughts
A mop set is one of those purchases where spending slightly more upfront genuinely saves money and frustration over time. The difference between a well-made wringer bucket and a cheap one is not just durability - it is the quality of every single mop session for the next year or two.
Pick a setup that fits your floor type, get enough pad replacements to maintain a clean rotation, and pair it with the right tools for corners and grout. Your floors will actually look clean after mopping, which - if you have dealt with streaky or dull results before - is more satisfying than it sounds.